
To add a file to your project, click on the Edit menu, then choose the Add File ... menu option, or click the Add File icon on the Project Management toolbar. This opens a Windows dialog box where you can search for a schema or instance document to add to your project.
To add a single schema, just select the schema. The schema's name, type, and path will appear in the main window. The schema's Valid icon will be a question mark and the Date will be blank until the schema is validated.
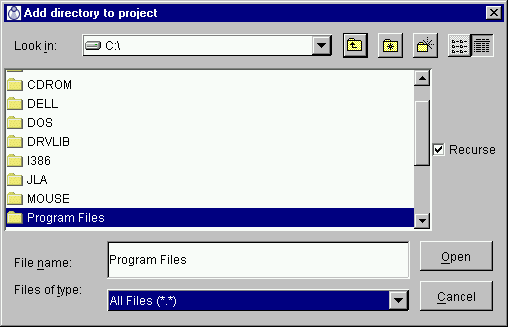
To add an entire directory of schemas and instance documents to the project, click on the Edit menu, then choose the Add Directory ... menu option, or click the Add Directory icon on the Project Management toolbar. This opens a Java dialog box where you can search for a directory to add to your project.

Figure A - Add Directory dialog box
To add a directory, select the directory by clicking on it once, then click on Open. When XML Console operates on a directory, it operates on every schema and instance document in the directory. To have XML Console operate on files in a directory's subfolders as well, check the Recurse box on the right.
Note: The dialog box is Java-based, so it has some differences from the Windows dialog box users may be accustomed to. For example, there are no Network Neighborhood or Desktop folders. These folders will have to be mapped.
To delete files or directories from your project, select the items you want to delete, then click on the Edit menu and choose the Delete menu option, or click on the Delete icon in the Project Management toolbar. To delete everything and start over from scratch, choose the Delete All menu option or click on the Delete All icon.
Copyright 2000 Extensibility, Inc.
Suite 250, 200 Franklin Street, Chapel Hill, North Carolina 27516